Highlighting your hair has so many more benefits than simply adding a dash of color to your hair. Highlights for hair help you adok. It primarily focuses on blending highlights with your hair’s base color to get rid of any harsh lines between the different colors.d more depth, vibrance, and dimension to your hair. The right highlights can make your hair look thicker, voluminous, and bouncy! Some highlights even help you frame your face and enhance your facial features. They can boost your appearance and enhance your hair color! You can highlight your strands using temporary, demi-permanent, semi-permanent, or permanent hair dyes or with hair toners. And there are different techniques you can use to highlight the hair, such as balayage, foiling, ombre or a face-framing highlight, depending on the style you desire. So, scroll down and check out how to highlight your hair with traditional dyeing kits and DIY techniques.
Essential Things To Know Before You Highlight Your Hair At Home
Before you begin the DIY method of hair highlighting at home, here are some of the critical things you need to know:
1. Choosing Hair Highlights
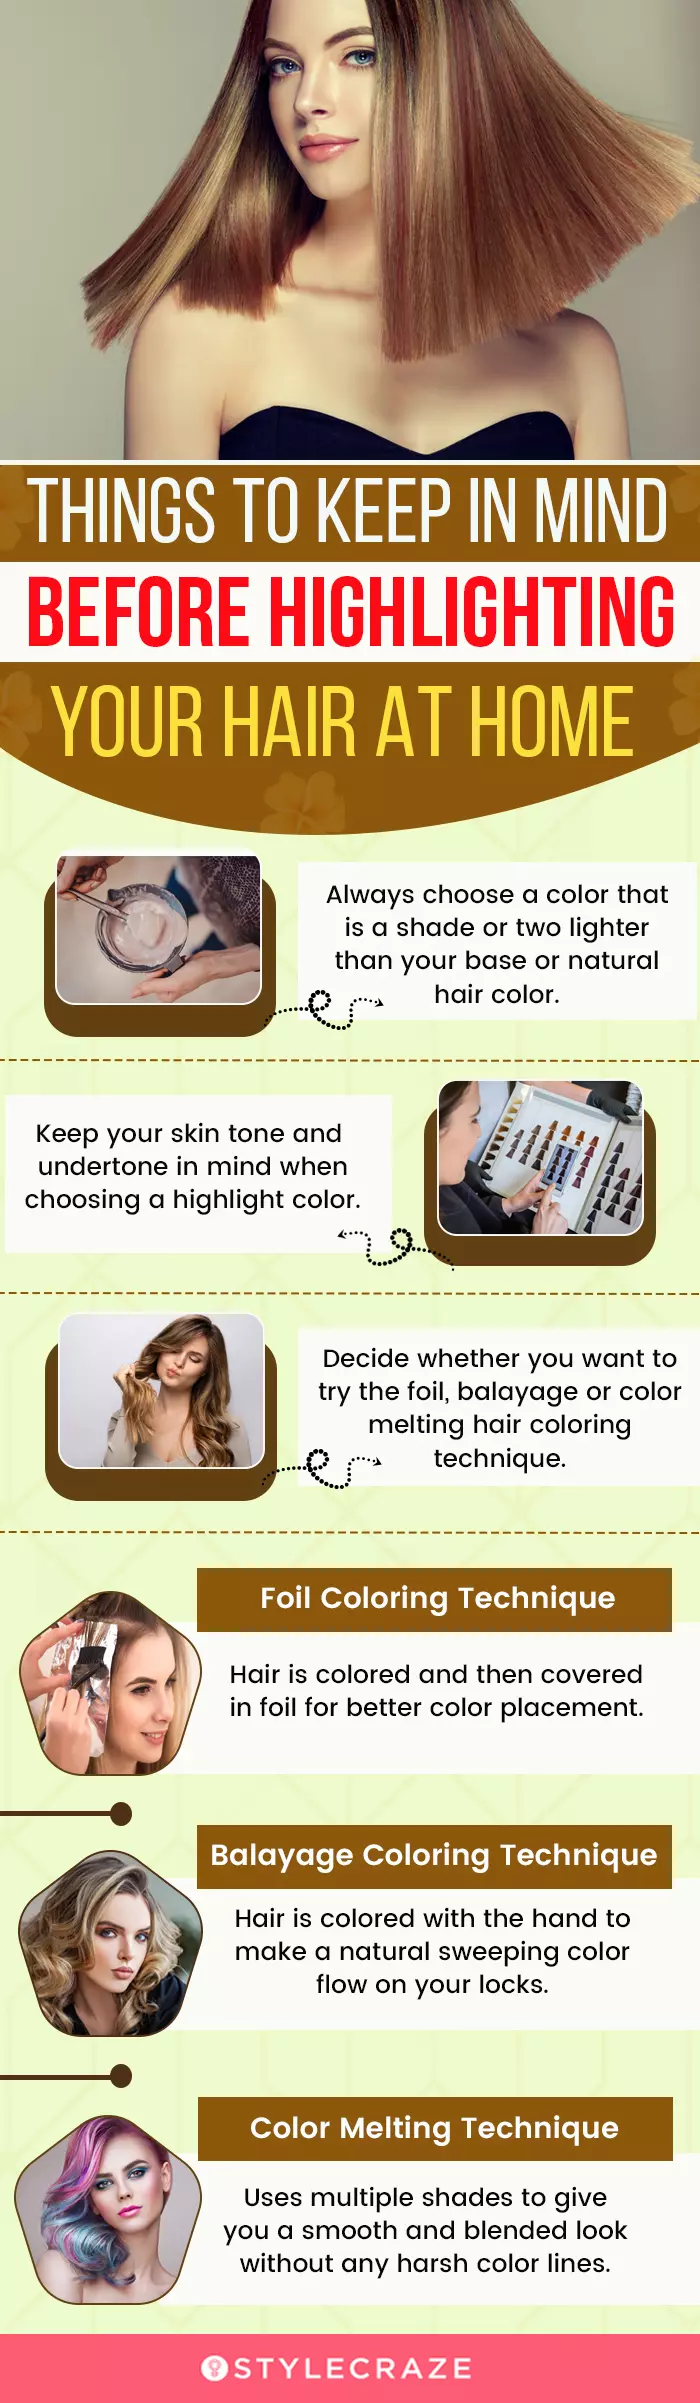
The first requirement for highlighting your hair is to use bleach or a dye that is lighter than your hair color, based on your hair type, color, and condition. Make sure to choose a color that is one to two shades lighter than your base color. If you go for a much lighter shade, then your high lights can look very stark and unnatural. Another critical point here is to understand your skin tone and undertone while choosing your highlight hair color. Figure out the surface tone and undertone of your skin and hair (they can be warm or cool, or neutral-toned), and pick a shade accordingly.
2. Popular Techniques Of Applying Hair Highlights
There are many ways of going about highlighting your hair. Below are some of the popular techniques of doing hair highlights at home:
I. Foil Technique
In this technique, the highlights are applied to entire hair sections, which are then folded in foils. It gives you better control over the color placement and allows you to apply multiple colors simultaneously.
II. Balayage
This hair highlighting technique involves sweeping a highlight color along the surface of your hair in a freehand style. Unlike the foil highlight technique, this method will not saturate entire sections of hair and will give your tresses a natural-looking gradient.
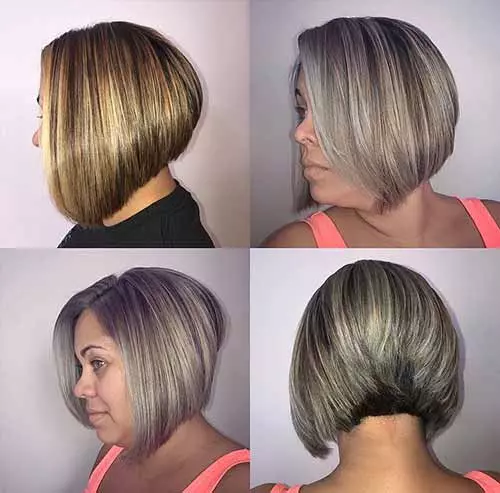
III. Color Melting
Color melting technique of hair highlighting uses multiple shades to give you smooth and blended highlights with a distinct look. It primarily focuses on blending highlights with your hair’s base color to get rid of any harsh lines between the different colors.
3. Performing A Strand Test
It’s crucial to test the product on a small section of hair to ensure the right color and avoid allergic reactions. Mix a small amount of bleach and apply it to a hidden strand of hair. Leave it for the recommended time and rinse. Assess the color to see if it’s the shade you want. If the strand turns out too light, reduce the processing time. You may need to leave it on longer during the full application if it’s too dark.
4. Washing Routine Before Highlighting
It’s best to wash your hair 1-2 days before highlighting. This will allow the hair’s natural oils to protect your scalp from irritation during the bleaching process. Make sure your hair is dry and free from any heavy products before you begin the process.
5. Timing The Process
Once the bleach is applied, it’s crucial to time the processing carefully. Leaving it on too long can lead to over-lightening and damage. Also, rinsing too early may not give you the desired effect. Follow the recommended time on the box and check your highlights every 5-10 minutes by peeking inside the foil or checking a strand of hair. If you want some highlights to be lighter than others, remove the bleach from those sections a few minutes earlier. You can achieve beautiful, natural-looking highlights without stepping into a salon with careful preparation and the right products.
Step-By-Step Procedure To Highlight Your Hair At Home
Whether you are going for brown or blonde highlights, there are multiple options for at-home highlighting kits available on the market. Hair highlighting also requires bleaching, and it may take multiple sessions to achieve your desired results. All in all, there are four ways to highlight your hair to create different looks.
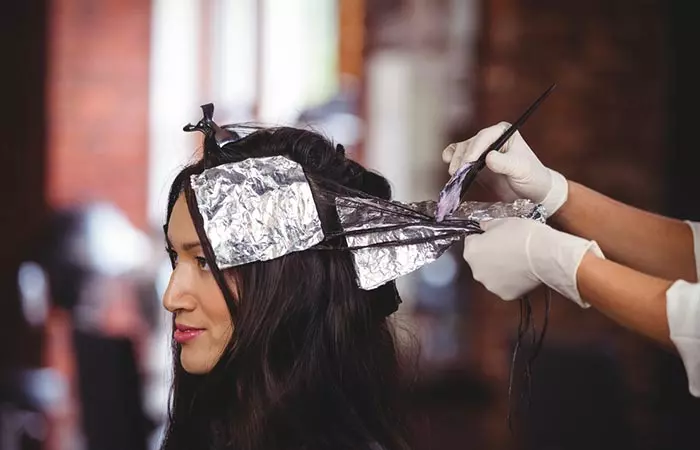
1. Foil Highlights
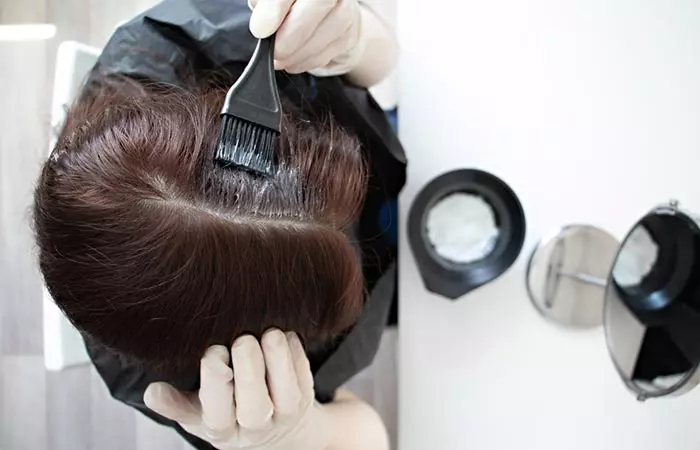
Foil highlights are the most traditional way of doing highlights at home, and this method has been used by hairdressers and DIY-ers for years now. Basically, the highlighted areas are covered with strips of aluminum foils when they are being dyed. This traps the heat and helps the color process faster. It also makes sure that the dye doesn’t bleed onto surrounding hair, thus giving you very precise highlights.
What You Need
Highlighting kit Hairbrush Rubber gloves Sectioning clips Hair tinting brush Aluminum foil Rat tail comb Color safe shampoo and conditioner
What To Do
2. Frosted Highlights
Now before you start thinking if we’re back in the early 2000s and trying those dreaded frosted blonde highlights that men used to sport, let me stop you right there. The frosted highlights I’m talking about are done with the help of a special cap filled with holes that make for easy application. The result you end up with is super fine textured highlights that blend into your natural hair color seamlessly. What You Need
Highlighting kit (that contains a highlighting cap and hooks) Rubber gloves Hair tinting brush Color safe shampoo and conditioner
What To Do
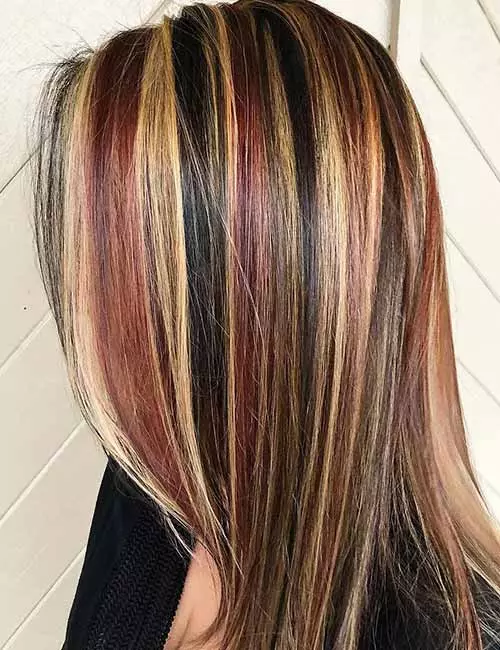
3. Hair Chunking
Hair chunking is for all you ladies who like to go for a more vivacious and dramatic look with their hair. They’re done the same way as regular highlights, the only difference being that they are done on thicker sections of hair. Thus, a stark contrast is created between the natural color and the highlights, which makes for a funkier look. What You Need
Highlighting kit Hair brush Rubber gloves Sectioning clips Hair tinting brush Aluminum foil Rat tail comb Color safe shampoo and conditioner
What To Do While you can always use a readymade kit, highlighting your hair without one is also possible. Read on to find out how.
How Can You Highlight Hair At Home Without A Kit?
Highlighting your hair at home is an excellent way to save money. If you do not have a kit, there is still a way to highlight your hair without it. Here is how you can do it: What You Need
Gloves Bleach Aluminum foil (neatly cut into small 8×10 pieces) 10 vol. developer or 6% peroxide Mixing bowl Tinting brush Rat-tail comb Mirror
Prep Before Highlights
What To Do
Divide your hair into three sections. Leaving out the middle section, tie up the two side sections of your hair. Pick up thin sections of hair from the middle section and slice out a thinner layer of hair using the tail of the rat-tail comb. Place a piece of aluminum foil under this thin section of hair. Apply the bleach mixture to the hair on the foil using a tinting brush for even application. Place another piece of foil on top of the first piece to cover the hair. Repeat the procedure throughout the middle section of hair – picking up the pieces that you want to highlight – before moving to the side sections of your hair. Leave the dye in your hair for the time duration indicated on the bleach box. You can keep checking the shade that your hair has reached every ten minutes by removing dye from a small section of hair. Once your highlights have reached your desired shade, wash off the bleach with color-safe shampoo and condition your hair.
If you do not have aluminum foil, there is still a way to highlight your hair at home without it. Here is how you can do it.
How Can You Highlight Hair At Home Without Foil?
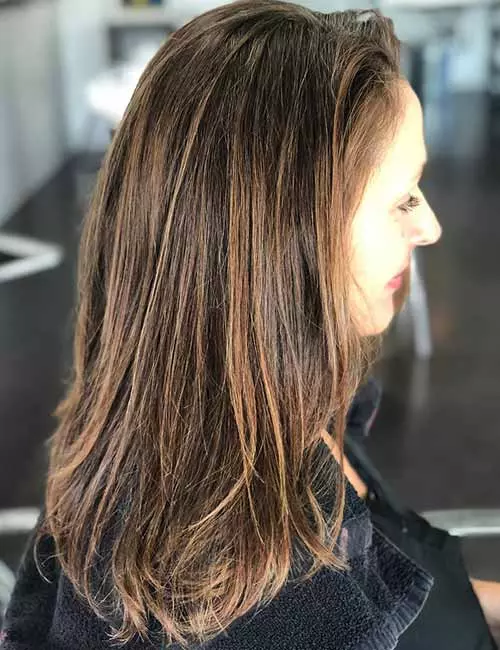
You can go for hand-painted highlights if you do not want to use aluminum foil. Hand-painted highlights (also popularly known as ‘balayage’) are all the trend right now and the reason for it is apparent. This gorgeous color technique does not make use of foils to separate the highlights. It blends the highlights so flawlessly into your hair that they look like they grew out of your head that way naturally. Now, blonde balayage hair looks amazing but it requires quite a high level of skill that can only be done by professional hair colorists. But, here is a pretty nifty hack that you can do yourself quite easily. What You Need
Highlighting kit Rubber gloves Flat paddle brush Hair tinting brush Sectioning clip Shampoo Conditioner
What To Do The biggest fear people have when highlighting their hair at home is that they will end up with ugly zebra stripes-like highlights. Find out how to avoid this in the next section.
How To Highlight Your Hair Without Creating Zebra Stripes
To highlight your hair at home without zebra stripes, you will need to section the hair well and use a proper highlighting kit. Make sure to apply the highlights evenly and to use very thin sections of hair so that it blends with your base hair color seamlessly. Using a foil technique helps tremendously with this issue, by using small sections to prevent bleeding or splotching. Wondering what results you should expect? Find out below!
What Color Should You Expect After Highlighting Your Hair?
Since the hair color and tone vary from person to person, the highlights and level of lightness may vary too. In general, these are the results you can expect:
Medium brown hair, without any bleaching, may simply take on a golden hue. Dark brown or brunette hair may turn chestnut brown or orange if you have big color molecules in your hair that are generally harder to break down. Check out all the possible highlights for brown hair and consult a trusted hair stylist or colorist to choose a color that won’t fade quickly. Red hair may turn orange or blonde. Dark blond hair may turn light blonde. Light blonde hair, on the contrary, may turn to white-blonde.
Monica, a YouTuber, shared her personal experience of highlighting her hair at home at a very low price. She demonstrated the entire procedure and said, “I really loved the result of it! Perfect subtle highlights! No dryness! Made my hair softer and shinier (i)!” Irrespective of the DIY method you choose, you need to follow specific tips and a rigorous hair care routine post highlighting to maintain the look. Read on to know more.
Tips To Follow When Highlighting Your Hair At Home
Here are some of the factors to be considered to ensure a smooth experience of hair highlighting at home: Hair highlights can enhance your overall appearance, but they involve using bleach, which may have side effects. Learn more about them in the next section.
Side Effects Of Hair Highlights
Here are some potential side effects of highlighting hair at home:
The bleach used in the highlighting process may be harsh on your hair, leaving your strands brittle and prone to breakage (1). It may strip away the natural oils from your hair strands and lead to dryness. This may make your hair feel coarse and lead to frizz. The chemicals in bleach may irritate your scalp and lead to redness, itching, or a burning sensation (2). It may also lead to allergic reactions. Perform a patch test before highlighting your hair at home to avoid these adverse reactions.
To minimize the side effects, make sure you use products that are specifically formulated for color-treated hair. Regularly using a hair mask can also help restore moisture and health to your hair following the highlighting process.
The Final Word
What should I do if I don’t like my highlights? Scroll down and check the infographic below to know what you should keep in mind before highlighting your hair at home.Illustration: StyleCraze Design Team If you are not satisfied with your highlights, you should consider consulting a professional stylist for corrective measures. They can help tone or adjust the color for a better match or suggest ways to blend the highlights into your natural color. What is the main difference between highlights and lowlights? Highlights are generally lighter than your natural hair color, whereas lowlights involve coloring sections of your hair with a shade that is darker than your natural hair color. Do highlights damage your hair permanently? The process of hair highlighting uses oxidation agentsi An agent that transfers oxygen to gain electrons. The releasable oxygen is necessary to oxidize the hair dye and initiate the reaction mechanism to obtain the desired hair color. and ammonia, which can be harmful to your hair if proper care is not taken. Use hair products that are formulated specifically for damage control to care for color-treated hair. In addition to this, using a good-quality hair serum is recommended to protect your hair from UV rays and discoloration. How long do highlights last in your hair? That depends. For instance, permanent highlights last until your hair grows out, while semi-permanent highlights last for 4-6 washes. Temporary hair highlights last for about 1-3 washes. If lightened with bleach or a developer higher than 10% will stay lighter and will not wash out because the color molecules have been chemically removed from the hair. How can I highlight my hair at home without using bleach? You can apply a mix of lemon juice and water and expose your hair to the sun rays for half an hour to see visible effects. You may also rinse your hair with apple cider vinegar to highlight and lighten the hair. Can a hairdresser lighten hair without bleach? Yes. if you have light brown hair, hairdressers may use different color shades (like platinum and blonde) to lighten your hair color. The dyeing process is usually followed by toning to neutralize any unwanted hues. How do you highlight the hair with a toothbrush? You can apply the hair dye with a baby toothbrush. Section your hair and saturate it with the color and wrap it in foil. You can check out more creative and fun highlight ideas for dark brown hair. Coloring your own highlights at home is easy. You just need to know the technique, which you can learn from this helpful video. Check it out!