How To Do A Side French Braid
What You Need
Hair brush Texturizing spray Hair elastics
How To Style
- Brush your hair: Brush out all the knots and tangles from your hair. This will make it easier for you to pick up small sections of hair to add into your braid.
- Spritz on texturizing spray: Texturizing spray will give your hair some hold and prevent your braid from loosening and your hair from slipping out of it through the day.
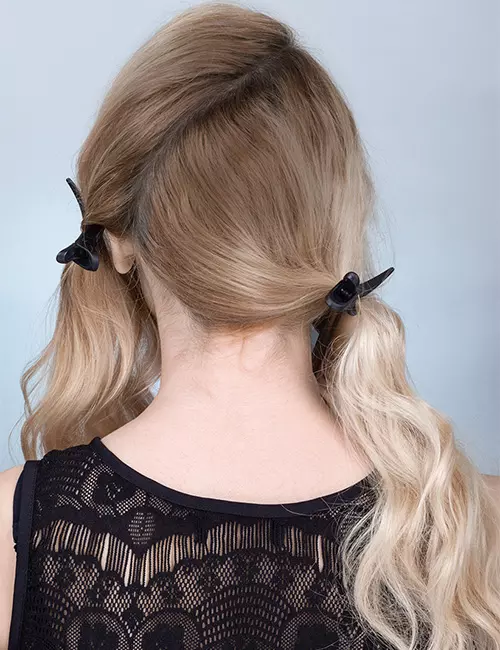
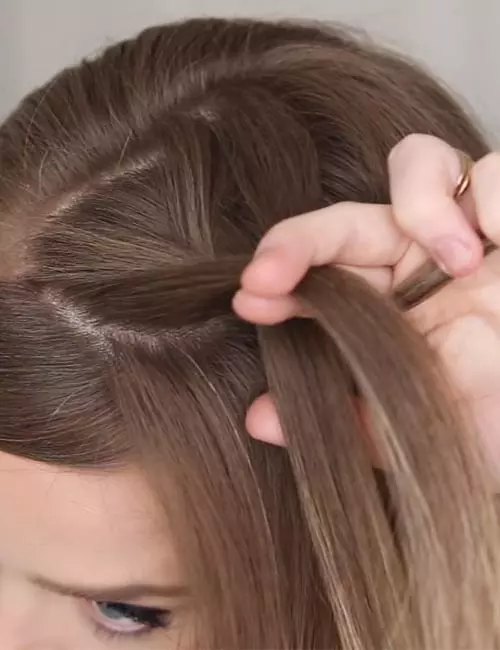
- Part your hair on one side: Part your hair deeply on one side. Section away and tuck in your bangs behind the ear that is on the opposite side. This will keep your bangs out of the way when you’re braiding your hair.
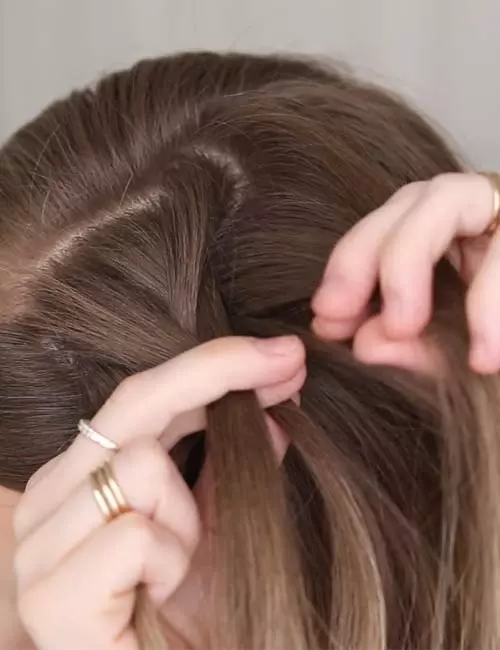
- Section your hair: Pick up a section of hair from right next to the parting and divide it into three equal sections for your braid.
- Do one stitch of braiding: Start off by doing just one stitch of a simple braid by alternately flipping the back strand over the middle strand and then the front strand over the middle strand. 00:45
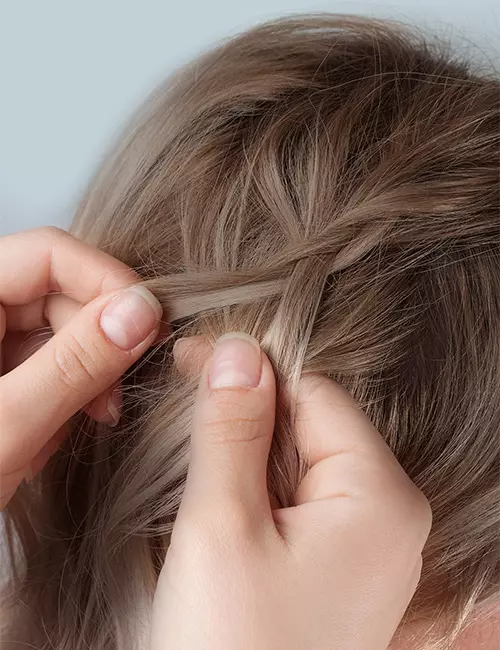
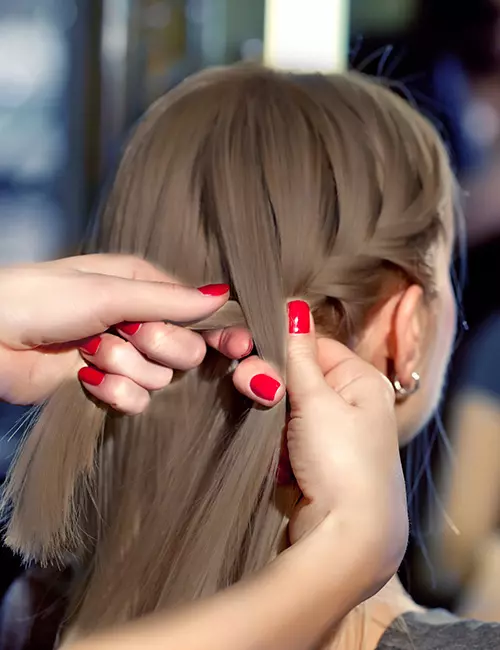
- Add more hair to the back strand: Now, to start French braiding, pick up a small section of hair from the crown of your head and add it to the back strand of your braid before flipping it over the middle strand.
- Add more hair to the front strand: Now, pick up a thin section of hair from near your forehead and add it to the front section of your braid before flipping it over the middle section.
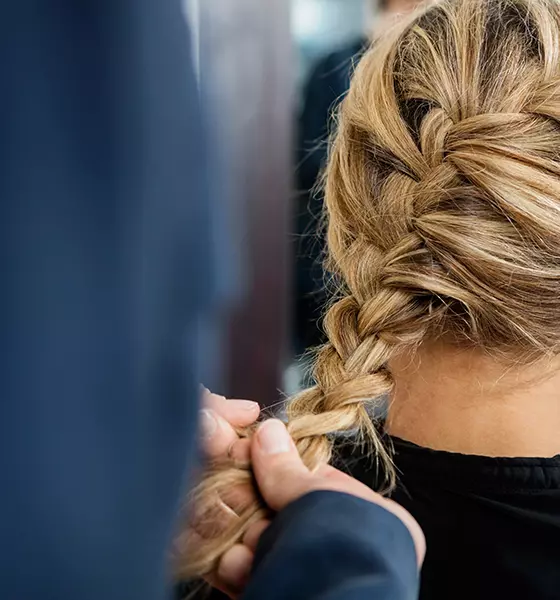
- Continue French braiding: Keep repeating steps 6 and 7 alternately while following your hairline to continue your French braid down the side of your head.
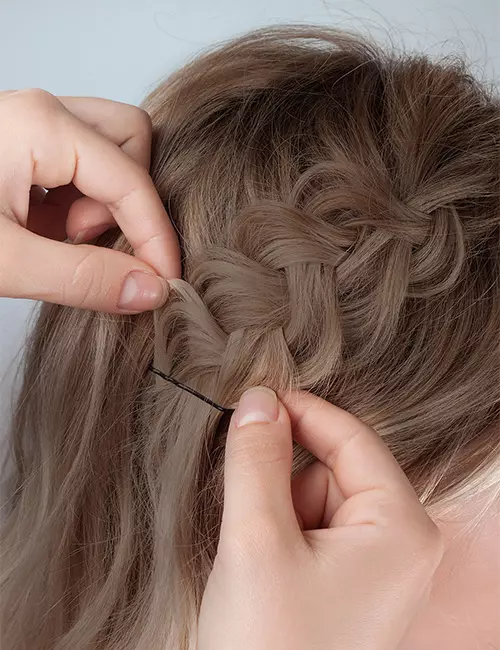
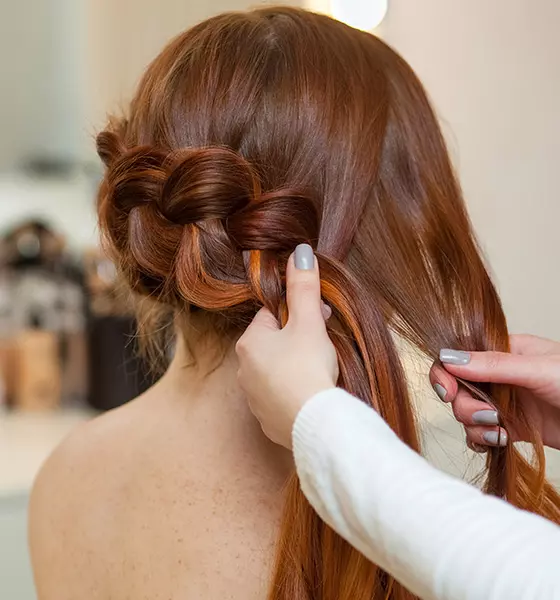
- Start adding hair from the back of your head: As you continue French braiding down the side of your head, you will have to start adding hair from the very back of your head to keep going.
- All your hair will now be in 3 neat sections: Once your French braid has gone past your ear, you will run out of hair to add to it and your hair will be neatly divided into three equal sections. It’s going to be smooth sailing from here.
- Simply braid the rest of the way down: Now all you have to do is simply braid the rest of the way down. Easy peasy!
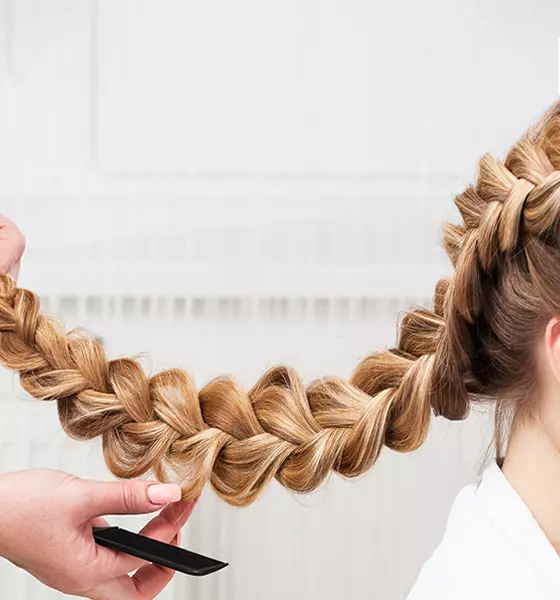
- Pancake your braid: Tug apart and loosen your braid from the center to give it more volume and make it look wider. This will lend a more softer and romantic look to your hairdo.
- Secure the ends: Just tie up the ends with thin clear hair elastic or one that matches the color of your hair.
- Conceal the hair elastic: Pick up a thin section of hair from the tail of your braid and wrap it around the hair elastic to hide it from view. Leave the very end of this section out and pull it downward.
- Tie the ends up with another hair elastic: Tie another hair elastic right under the wrapped section of your hair to secure it in place. Push the hair elastic further up and under this wrapped hair to conceal it completely. And voila! You’re done! Now, French braiding is one of those things that take a bit of practice to really get the hang of. But once you get the knack, you’ll be French braiding like a pro within minutes! Don’t forget to try out a bunch of different side braid hairstyles to hone your skills of side braiding. This exercise will help you in your quest to master beautiful French braids with some innovative ideas to make them look perfect! Here are just a few to get you started!
9 Stunning Side French Braid Hairstyles
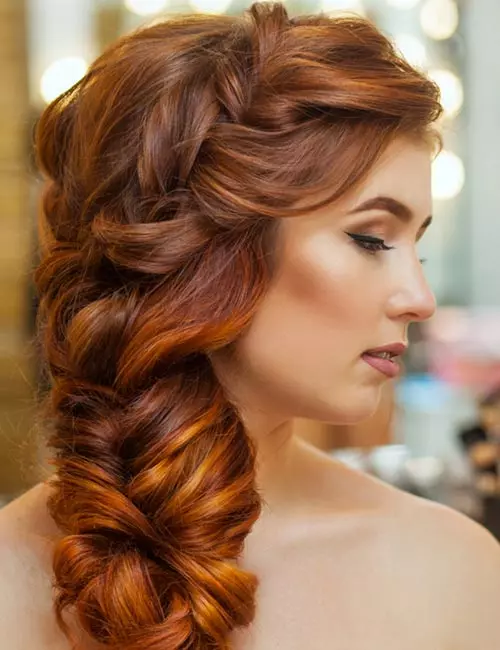
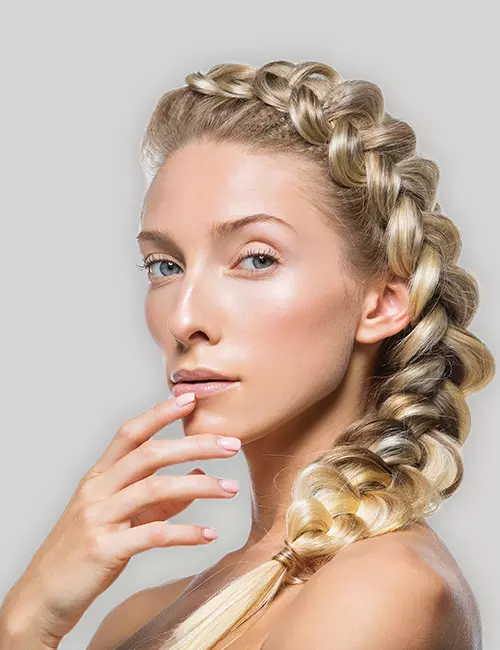
1. Puffy Side French Braid
A tight side French braid looks neat, but how about a puffy one? This bridal hairstyle incorporates the side French braid in a loose, voluminous look. It gives an elegant fullness to your hair and is the perfect example of sophisticated glamour, making it ideal for a bride’s big day.
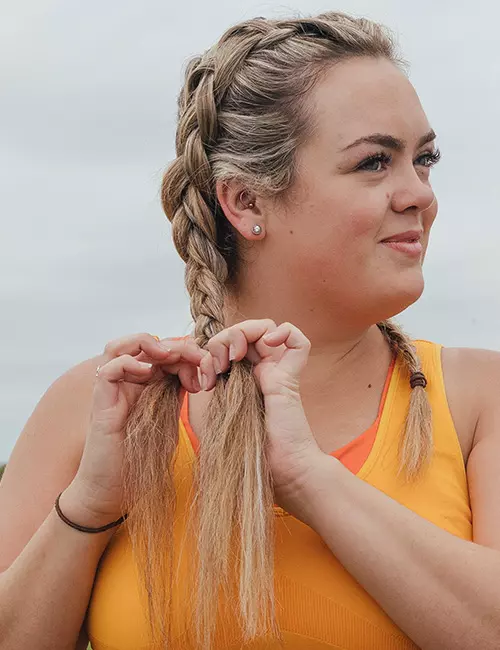
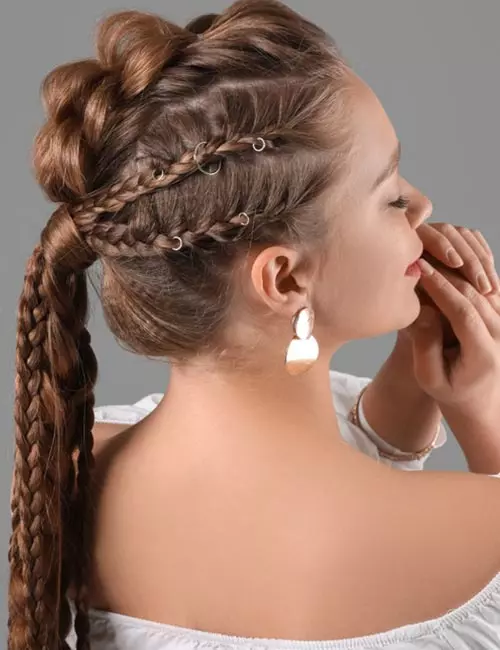
2. French Braided Ponytail
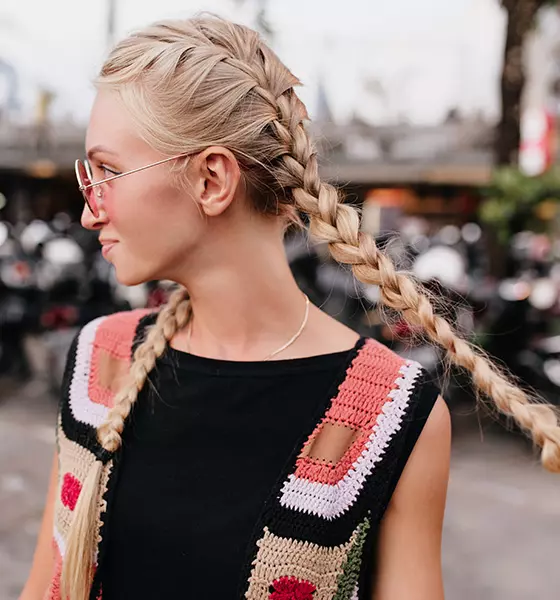
Here’s a style that takes the innocent appeal of the French braid and flips it 180 for an intensely edgy look. French braids of different sizes all over the scalp, almost like uneven cornrows, are woven till the back of the head and secured into a ponytail with multiple braids.
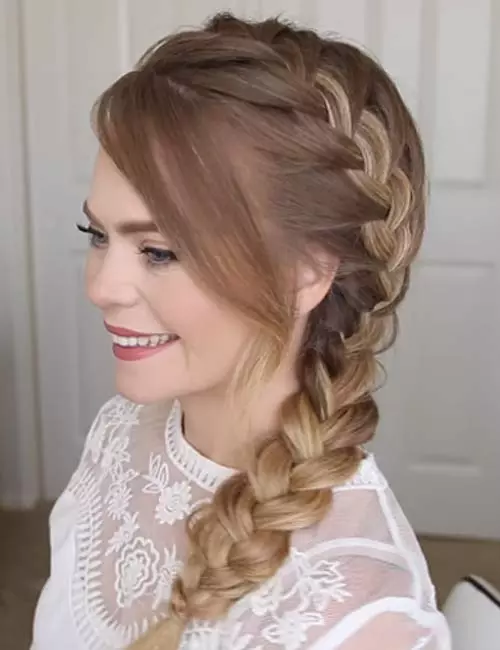
3. Combo Side French Braid
Once you’ve perfected the art of French braiding, you can combine it with pretty much any other braiding style and create a hairdo uniquely your own! You could, for instance, do one small simple braid and incorporate it into your side French braid to create this gorgeous combo braid that’s perfect for school or work!
4. Side French Braid Bun
Instead of just going down one side with your French braid, you can cross it over to the other side (like the famous Katniss braid). Wrap the end of this braid in a bun and accessorize it with a cute little bow to create a more formal updo.
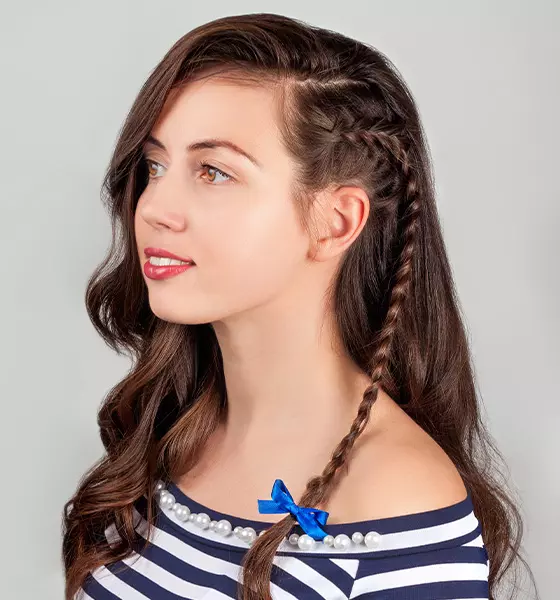
5. Side French Braid Accent
An accent braid is a cute way to add a bit of oomph to the hair down look. This sweet side French braid accent adds a delicate feminine vibe to your look and seamlessly complements your natural beauty. It also takes about 3 minutes to do and looks great on straight, wavy and curly hair!
7. Inverted Side French Braid
The inverted side French braid (or the Dutch braid, as it is also known) has been made famous in recent times thanks to Frozen’s Queen Elsa. This gorgeous Dutch braid hairstyle exudes a classy vibe and looks fit for a royal look. In her lifestyle blog, Jennifer Ritchie provides insights into maintaining “sun chic” hairstyles suitable for the hot and humid climate of Antigua, emphasizing the impact of having aesthetically pleasing hair on her overall sense of beauty and confidence. She suggests, “Having pretty hair just makes me feel, well, pretty (i).”
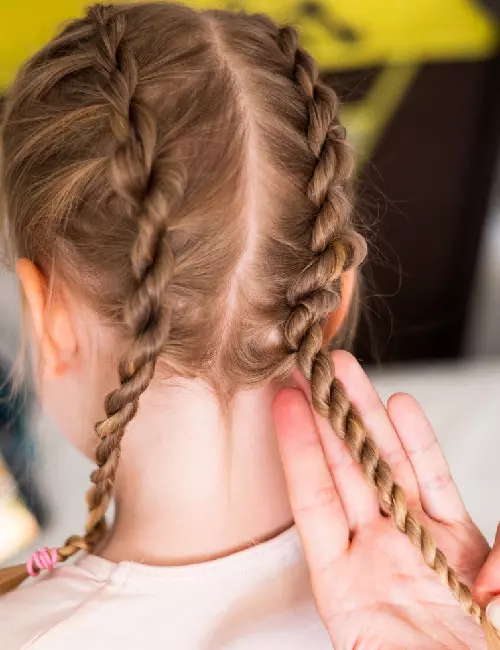
8. Double French Rope Braid
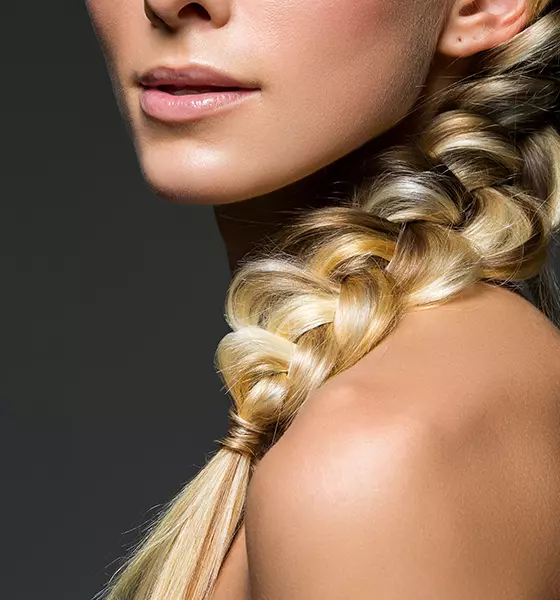
This stunning double French rope braid hairstyle has been charting high on the popular hairstyles list lately. The minimalist hairdo is super easy to do, making it a good option for casual brunches and meetings. The double braids keep the hair in place, and if you have long enough hair, they can be knotted together for an elegant updo! This easy braided hairstyle adds a modern twist to classic hairdos, offering a versatile look.
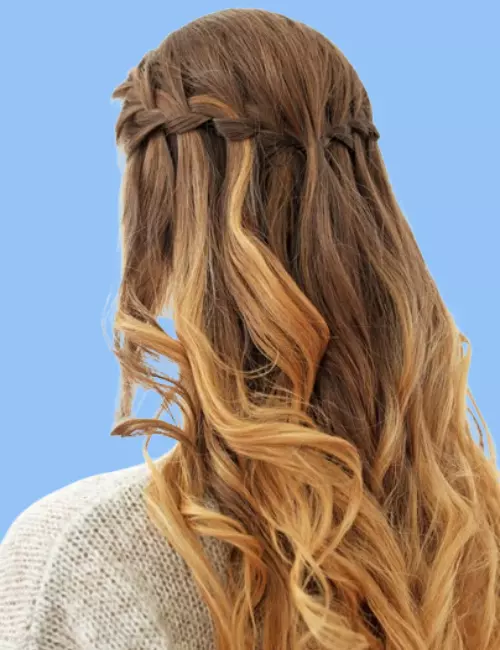
9. Waterfall French Braid
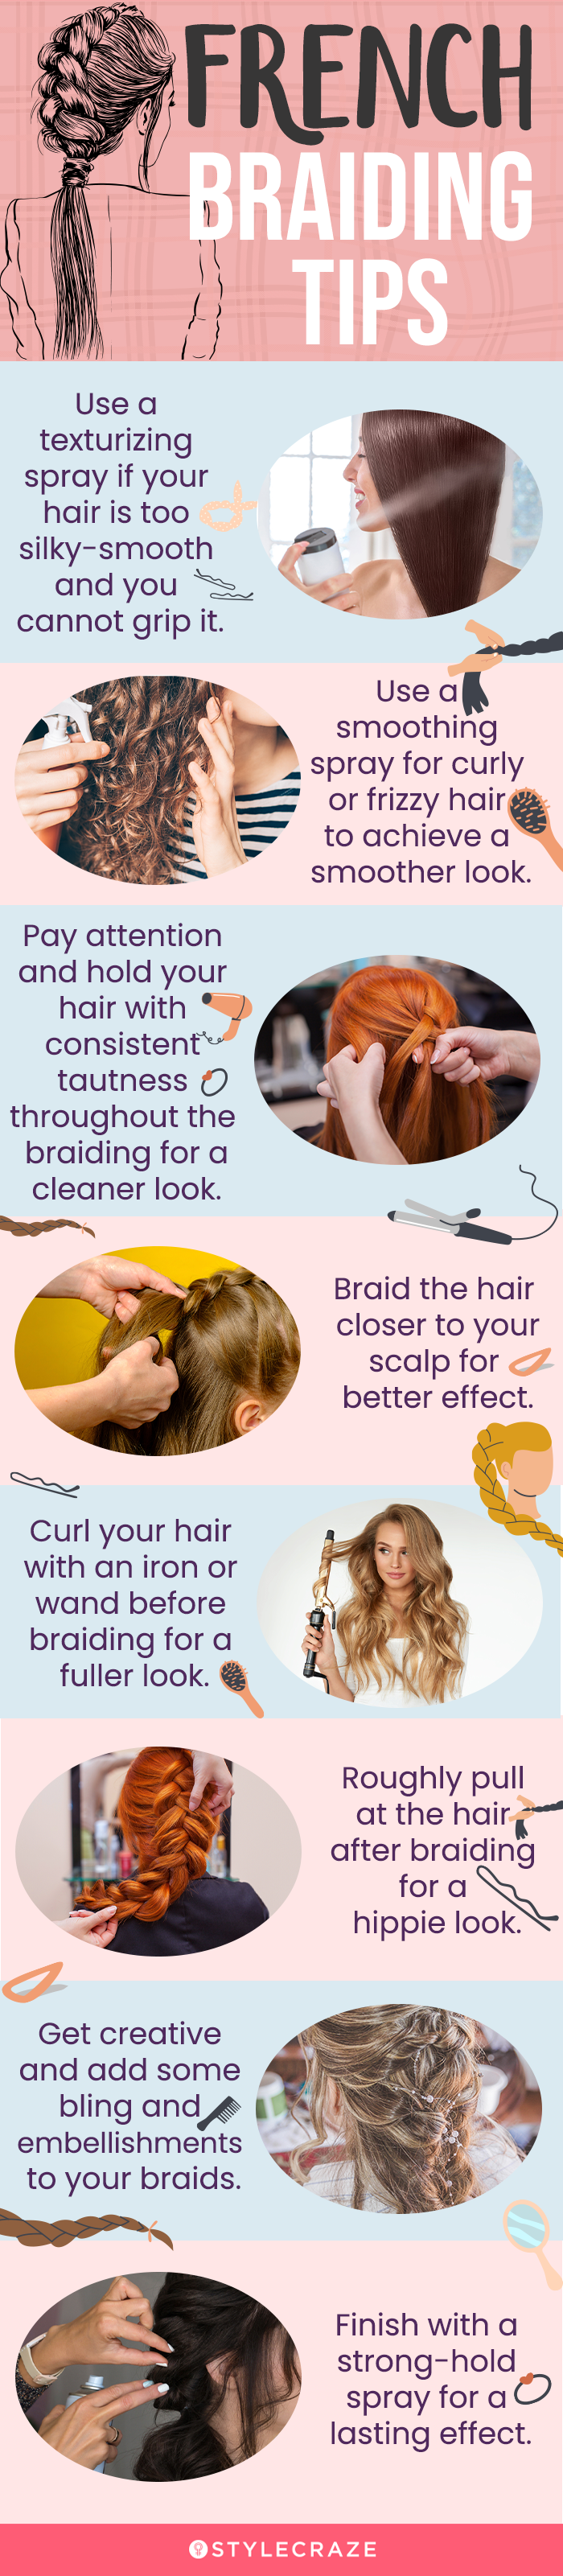
The timeless waterfall French braid hairstyle is definitely one of our top favorites! The humble yet gorgeous hairdo is something you can flaunt at any event and gathering. It can be done in minutes, and promises you longevity as well. If you are someone who does not want to indulge in intricate hairstyles but also wishes to look like a medieval princess, then this waterfall French braid hairstyle is surely for you! Does a French braid damage hair? Check out the infographic below for some tips on making French braids.Illustration: StyleCraze Design Team A french braid done loosely does not damage the hair, but if it’s tightly worn, then it may cause itching and pull on your hair shafts, resulting in damage to the scalp or leading to hair loss. How long should I leave French braids in? You can leave French braids in for 3 to 4 days, but the hair shafts may become loose and come out of the braid if they are not tightly braided. Is it OK to French braid wet hair? Braiding wet hair may cause hair breakage as wet hair extends more than dry hair. However, as wet hair makes braiding easier, you can wait for the hair to dry a little bit and use moderate tension while making your French braid. What is the difference between French braids and Dutch braids? Dutch braids are often referred to as inverted or reverse French braids. When weaving French braids, you cross the side sections of hair over one the middle section. But when weaving Dutch braids, you need to cross the side sections underneath the middle section.
Illustration: How To Do A Side French Braid: Easy Tutorial With Pictures
Wondering how to create those beautiful braid hairstyles you see your favorite stars sport? Check out this video that shows you how to get them in a few easy steps.