While some are blessed with strong and beautiful nails, others have to pay a lot of attention to their regular manicures to get that neat and pretty look. As a result, artificial nails or extensions are popular in the current fashion industry. Global personalities like Billie Eilish, Cardi B, Beyoncé, and many others have often been spotted with long claw-like nails. They are made with acrylic, fiberglass, or gel, and the process is known as sculpting. Swipe up to know more about the process. The article also mentions tips, tricks, and a step-by-step tutorial for applying nail extensions. Read on!
Acrylic Nails Extensions
The acrylic nails are created by mixing liquid monomer and a powder polymer, which when combined form a hard protective layer that is sculpted over the natural nail. These nails become hard when exposed to air. To do extension an artificial tip is added on the nail before using acrylic mix. After that, the nail extensions are shaped, buffed for a shiny finish.
Gel Nails Extensions
Gel is a softer consistency than acrylic, that is applied either on top of an artificial nail extension, or directly onto the natural nail bed to strengthen the nail and promote long nail growth naturally. It differs from acrylic in terms that no mixing is required to create gel and the nails must be cured in a UV lamp to create strong gel extensions.
Fiberglass Or Silk Nail Extensions
This is a less popular approach. This process involves cutting pieces of fiberglass or silk to fit the nail bed or tip, before sealing them into position using resin or glue. These are the three different types of nail extensions that can be done to get longer nails but all of them require the help of a professional artist slash nail technician and a proper nail salon.(of course they can be done at home but then you require to buy all those expensive products and most importantly lots of practice to get them done at home.) So how can you apply nail extension at home because it’s very expensive to get them done in salons? There are several types of artificial nail tips available on the market to do nail extensions at home. You can try with these:
How To Apply Artificial Nail Tips At Home
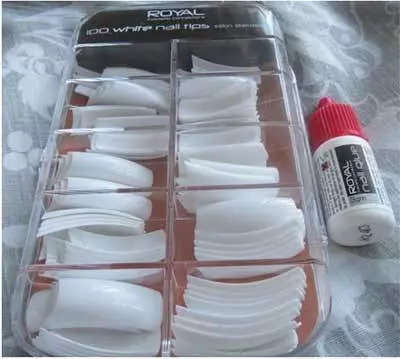
To apply nail extension at home you will need following things:
Artificial tips: There are several types of nail tips available on the market, like white, clear, colored, glitter, with design etc. These tips are basically made of plastic. Get the one which you prefer.
Nail glue: Nail glues are easily available now.
Manicure kit: Nail file, buffer, cuticle pusher and nipper.
Scissors or nail tip cutter.
Stepwise Tutorial
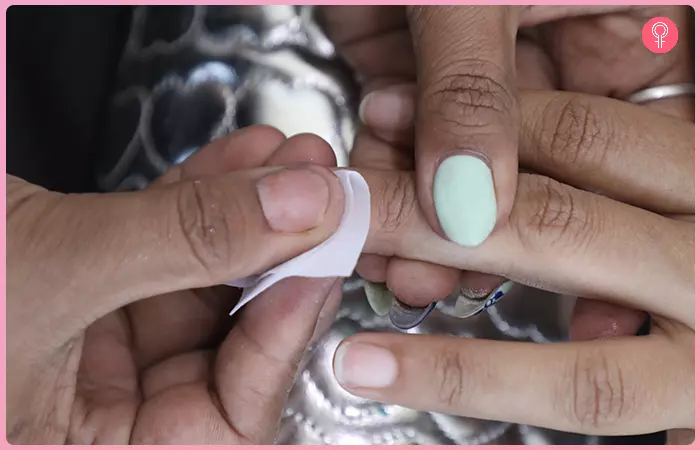
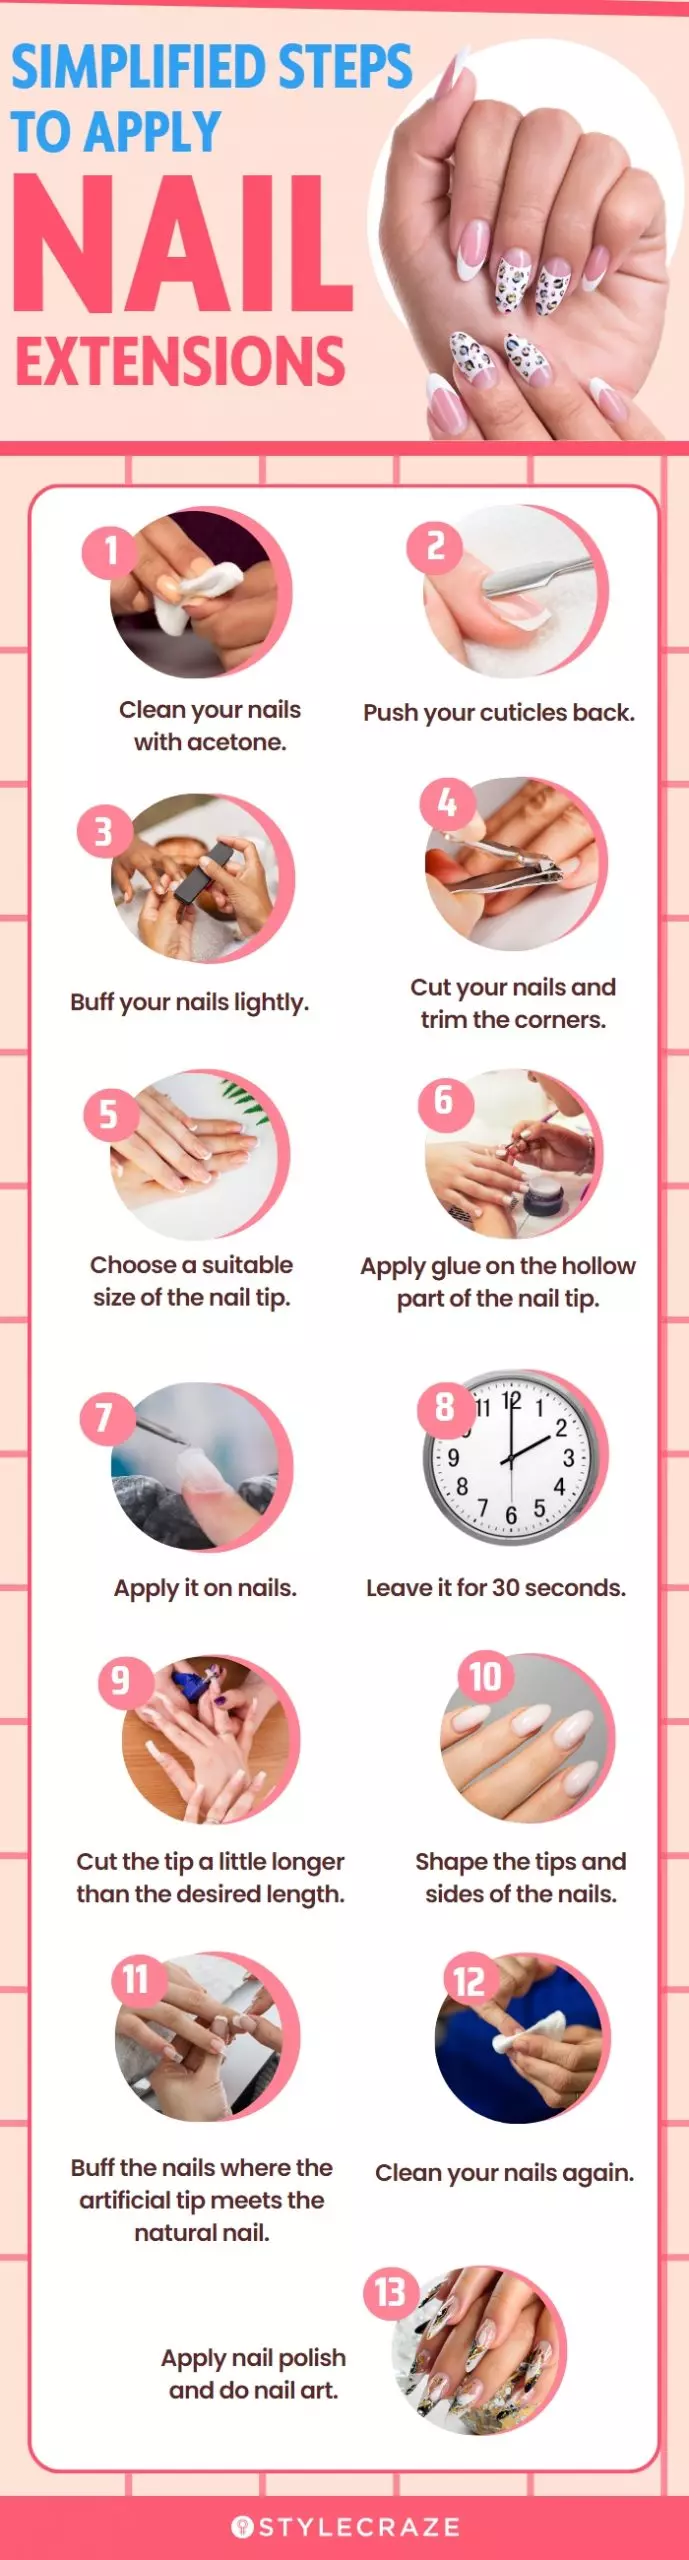
Step 1
To start, first prepare your natural nails; wash your hands, removes any polish or glue or anything with the help of acetone.
Step 2
Push your cuticles back.
Step 3
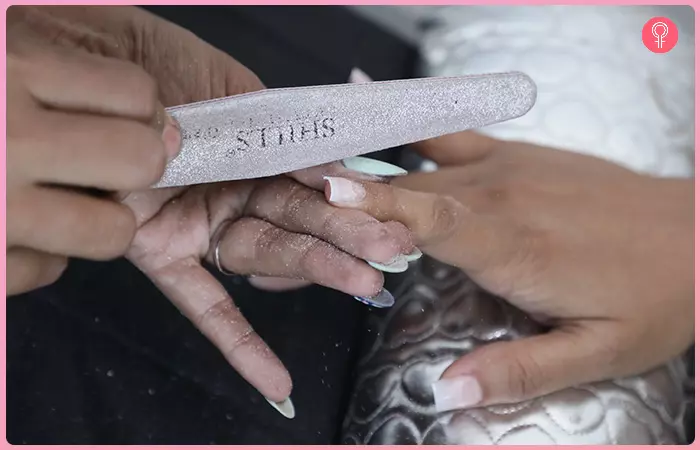
Now buff your natural nail lightly so that it doesn’t have any shine and moisture on it.
Step 4
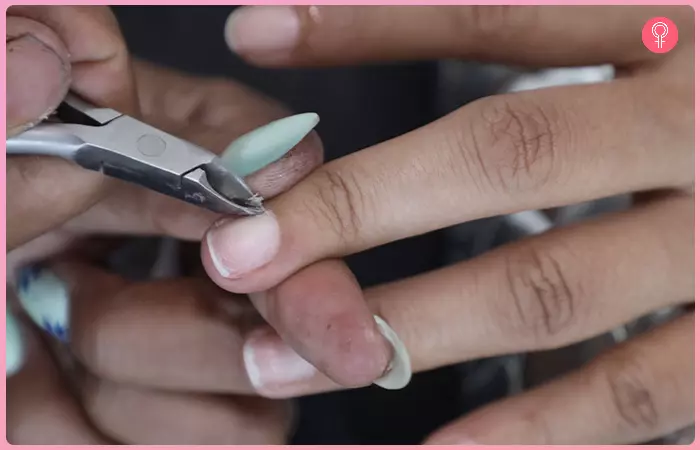
If your natural nails are long, then cut them and trim the corners for better grip of artificial nails.
Step 5
Now the important step, choosing an appropriate size of nail tip. This step is important as it will look very bad if you choose a wrong size. Take time and choose the exact size of tip which matches the c-curve of natural nail bed (from left to right). If the tip is slightly wider, then you can file it down.
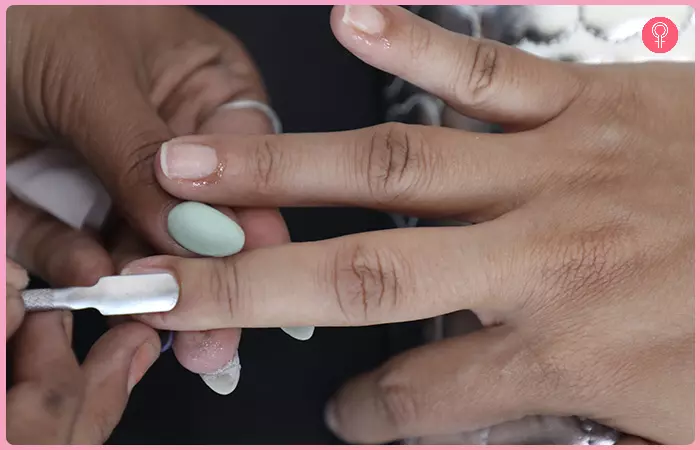
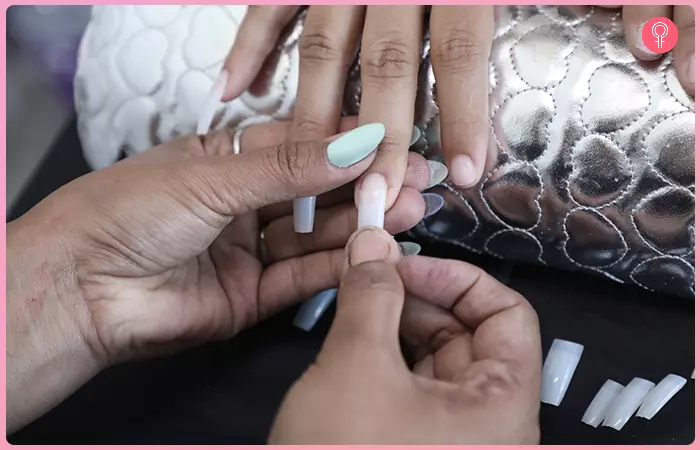
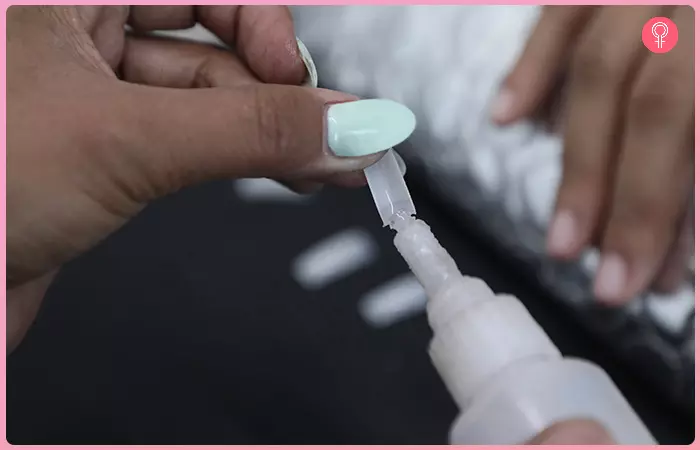
Step 6
Once you choose your tip, apply glue on the hollow part of the tip and apply it on nails. Give it a little pressure to avoid air bubbles. Be careful as the glue is very sticky.
Step 7
Leave it on for 30 seconds. After that cut the tip a little longer than you desired length with the help of a tip cutter or scissors. (as filing and shaping will make them shorter).
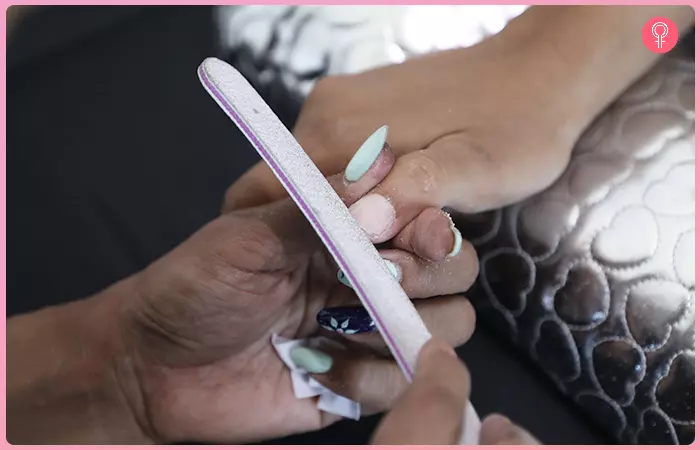
Step 8
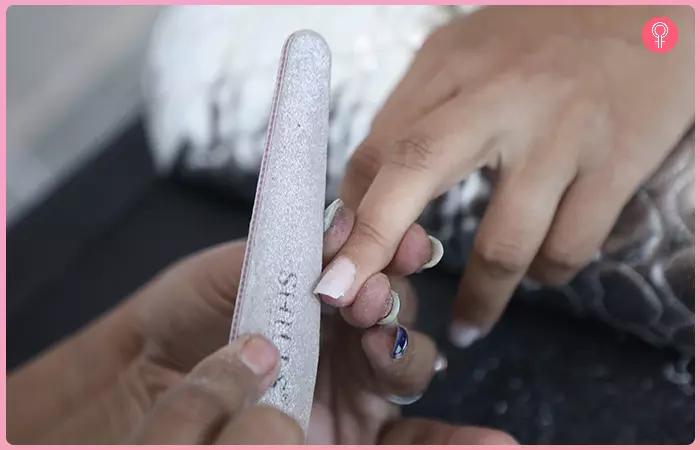
Shape your tips and sides of the artificial nail (to make them an exact fit on the nail bed). Buff them to finish.
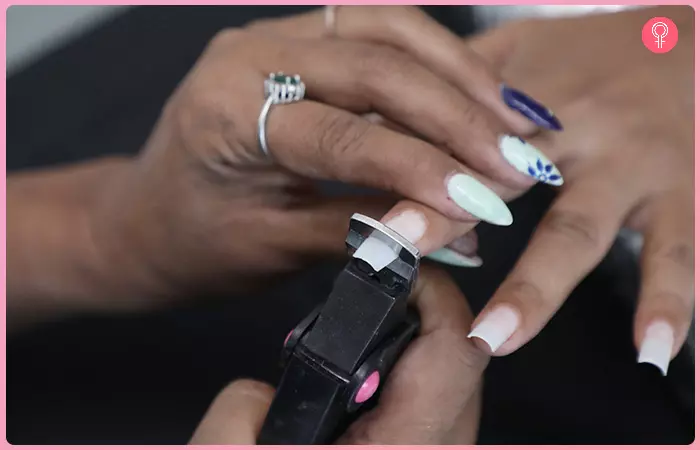
Step 9
Now take your nail buffer and start buffing lightly where the artificial tip meets the natural nail to make an even surface. Don’t buff on natural nails, try to do it on artificial tips only. Do it slowly so that you can see what you are doing and are not accidently buffing the whole artificial tip at nail bed.
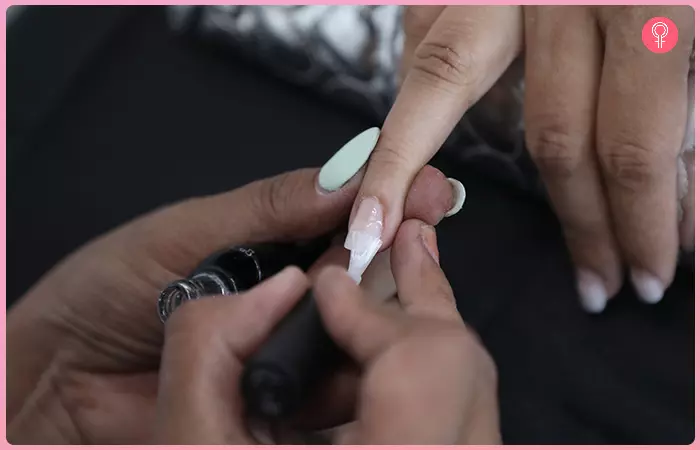
Step 10
Clean your nail and apply the base. Apply nail polish design; do nail art on the new long nails and finish off with nail primer for a neat look.
It will need a little practice but you will learn very easily. To remove tips, simply soak then in acetone for 10 minutes and the tips will easily come off. You can remove and do different manicures on the same tips if you get bored after 2-3 days. I personally did 3-4 manicure on the same tips. Aradhana Agarwal, a blogger, shared her experience of getting nail extensions done: “Nail extensions can feel super weird at first. It takes a few days to adapt. They’re nothing, not even remotely close to your actual nails, you feel they’re too plastic-ey (i).”
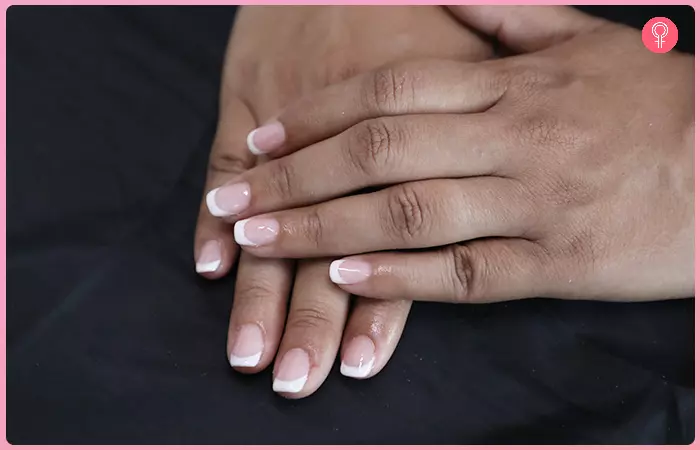
Here’s one of my manicures using artificial tips:
Don’t be scared of the red/yellow skin. This happens because of henna. Taking care of your nail extensions is essential to keep them looking good and long-lasting. You can protect your nails from damage and maintain their shine by following a few simple tips. Read on to know more!
Nail Care And Maintenance
Here are some simple tips to help you maintain your nail extensions: How long do nail extensions last? Check out the infographic below to get an idea of the simplified steps for applying nail extensions. Illustration: StyleCraze Design Team Nail extensions usually last 3-4 weeks before your nail grows, creating a gap between the cuticle and the extension. Do nail extensions fall off? No. Nail extensions usually don’t fall off on their own. You have to either cut them off when your nail becomes too long or get them removed at the salon. How can I safely remove nail extensions at home? Soak your nails in acetone for 10-15 minutes to loosen the adhesive. Gently push off the extensions with a wooden stick or soft tool. Avoid peeling or pulling off the extensions to prevent damage to your natural nails. Which lasts longer – gel or acrylic nails? Gel extensions last over 3 weeks, while acrylic nails need refilling or removal after 1-2 weeks. What is better for your nails than acrylic? Gel nails are a better alternative to acrylic nails, as they are not only easier to apply but also easier to remove. Unlike acrylics, which can sometimes cause damage during the removal process, gels are gentler on your natural nails. However, if you know how to remove acrylic nails correctly without causing harm, they can be good too. Learn how to create beautiful gel nail extensions with this step-by-step tutorial video below. Get ready to create stunning nails with ease and flaunt them like never before!